
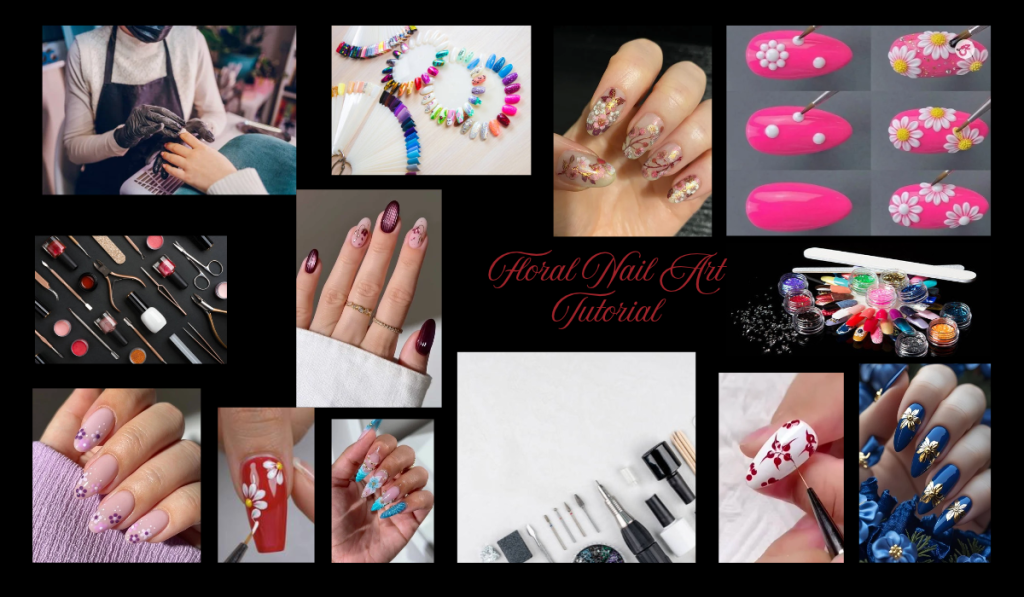
Have you ever admired a gorgeous floral manicure and thought, “How do individuals manage to paint those small flowers on their nails?”
The positive aspect is that Floral Nail Art can start without intricate hand-painted roses or expert salon methods.
Can you design appealing flowers using just a handful of basic tools?
Certainly.
By having the proper preparation, some practice, and a dependable Nail Art Brush Set, you can produce anything from basic five-petal flowers to intricate botanical patterns.
So, where do you start? This Flower Nail Tutorial will guide you through the process in steps, beginning with easy techniques for beginners and progressively advancing to more intricate floral designs.
What Is Required for Floral Nail Art?
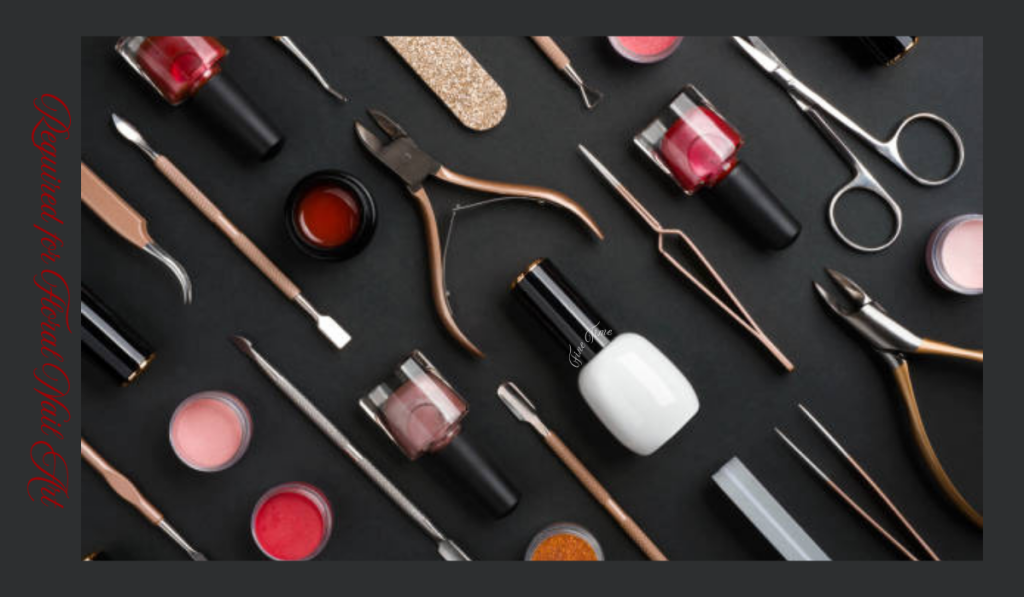
Prior to mastering Floral Nail Art, wouldn’t it be wise to gather the necessary tools?
You do not require a vast assortment of nail-art materials.
To create a simple design, collect:
- Base coat
- Your chosen background polish
- Two or more floral colors
- Green polish for leaves and stems
- Top coat
- Dotting tool
- Fine nail-art brush
- Clean-up brush
- Nail file and buffer
- Nail Art Brush Set
Is a dotting tool necessary?
Not necessarily.
A dotting tool simplifies the creation of basic flowers, but a fine detail brush can also be used to shape petals.
For intricate designs, a fine liner brush is especially beneficial for stems, leaves, outlines, and fragile petal details.
What Steps Should You Take to Ready Your Nails for Floral Nail Art?
Can stunning nail art appear untidy if the underlying nails aren’t properly groomed?
Indeed.
Begin by shaping your nails to your desired form.
Eliminate visible debris and carefully organize the cuticle region without harming the adjacent skin.
After that, use a base coat.
Why is this important?
A sleek foundation provides your floral arrangement with a neater appearance and enhances the polish of the manicure.
Subsequently, implement the background color you have selected.
Would two light layers be preferable to one heavy layer?
Typically, yes.
Thin layers are simpler to manage and usually provide a more even base for your artwork.
Let the base coat dry completely if you are using standard polish. When using gel products, adhere to the curing guidelines provided by the manufacturer.
What Is the Simplest Floral Nail Art Method for Starters?
Are you entirely unfamiliar with nail art?
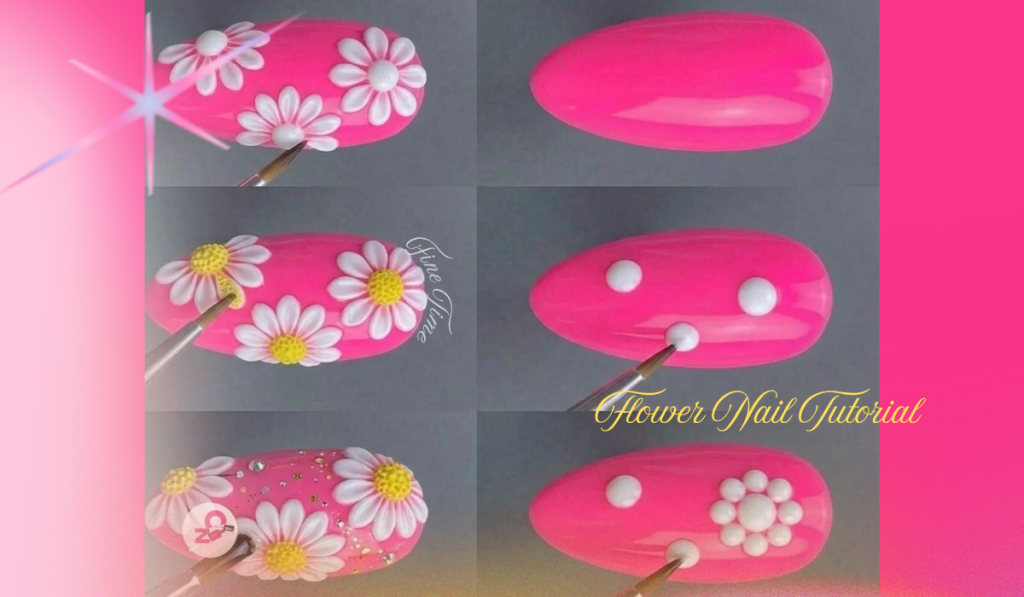
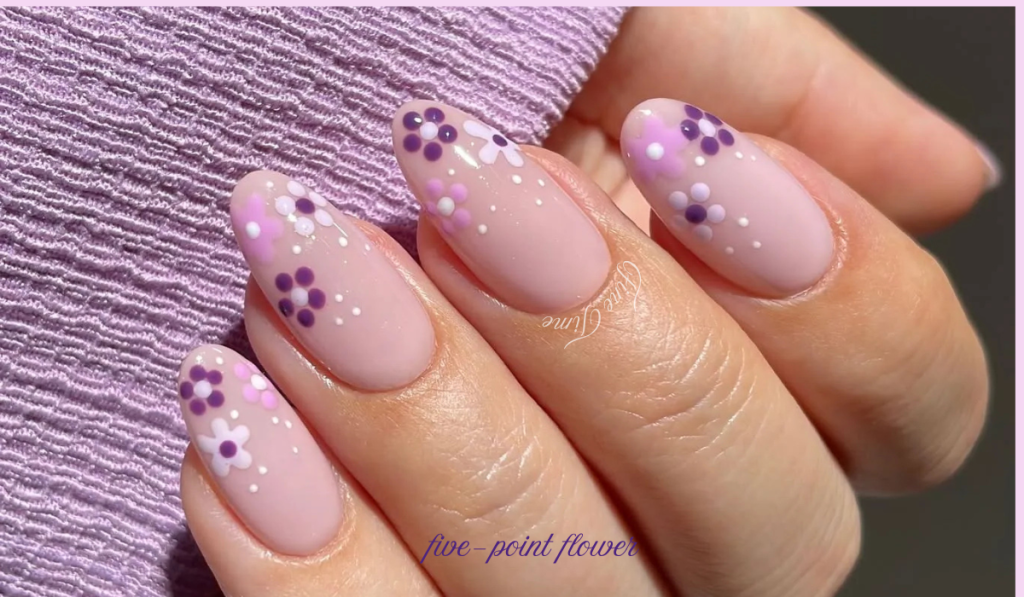
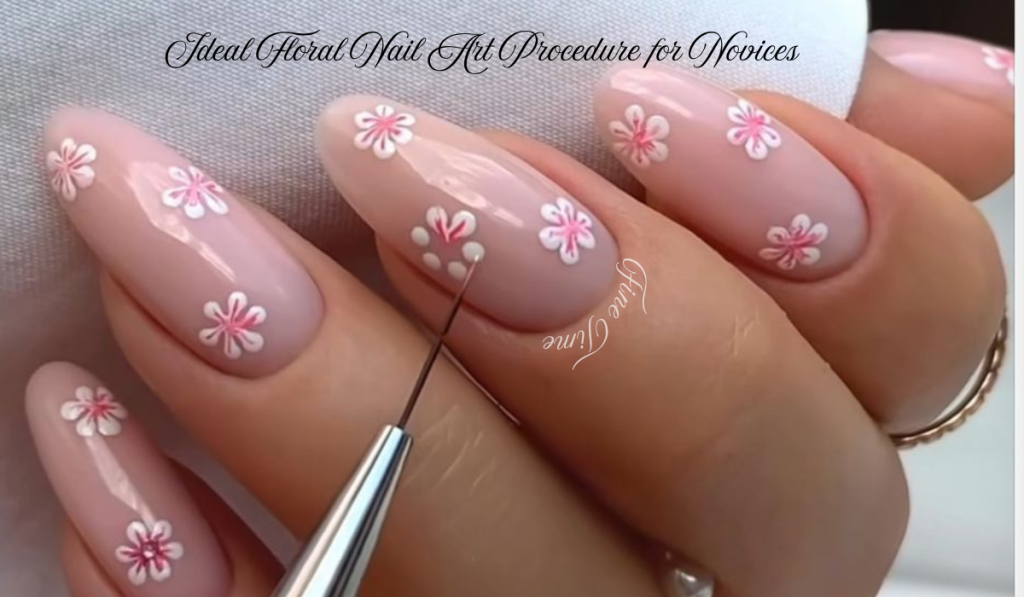
Begin with the traditional five-point flower.
What makes this method so beneficial?
Since there is no need to create intricate petals.
Instead, you form five tiny dots placed in a circle and transform them into a flower.
Begin by selecting the color of your petals.
Position five dots surrounding an imaginary central point.
Leave a small gap between them.
Next, utilize a fine brush or the smaller side of a dotting tool to gently draw each dot toward the center.
What occurs?
Every round dot transforms into a somewhat tapered petal.
Place a contrasting dot at the center.
And there you go—a straightforward blossom. This method is often utilized in introductory floral lessons as it offers a straightforward approach to grasping petal arrangement and balance.
How Can You Enhance the Five-Dot Flower to Appear More Professional?
Can a simple flower occasionally appear as five random shapes?
This typically occurs when the dots are excessively large, uneven, or positioned too far from each other.
So, what actions should you take?
Initially, maintain the dots at a comparable size.
Second, envision the center of the flower prior to adding the initial dot.
Third, ensure there is enough space between the petals for the flower’s center.
Should each flower be completely symmetrical?
Negative.
In reality, somewhat flawed flowers can still appear natural.
The key factor is to uphold a uniform scale throughout the manicure.
How Can You Make Flowers Using a Nail Art Brush?
What if you desire greater control than what a dotting tool offers?
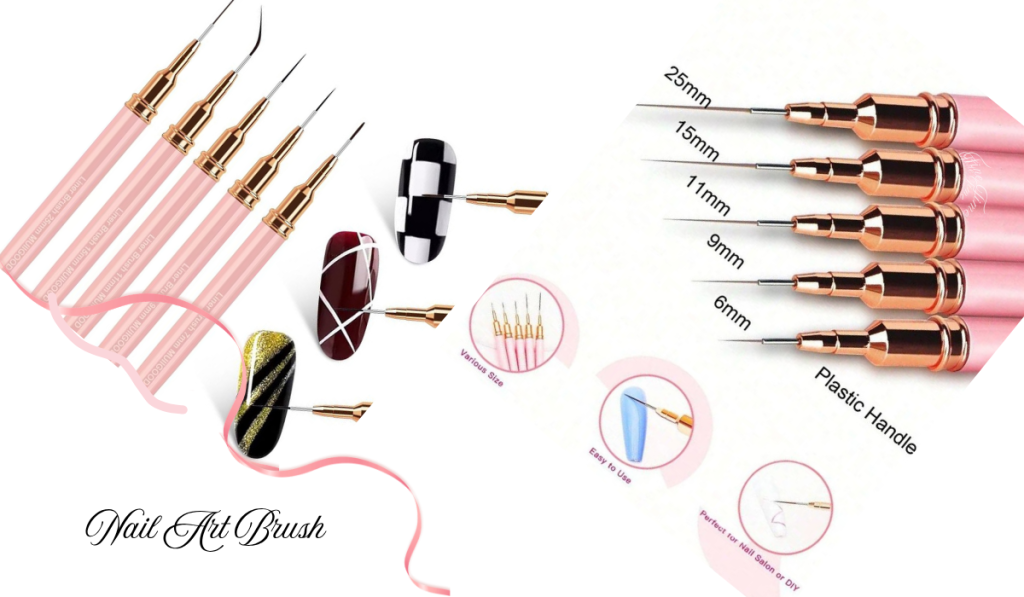
A Nail Art Brush Set is beneficial in this situation.
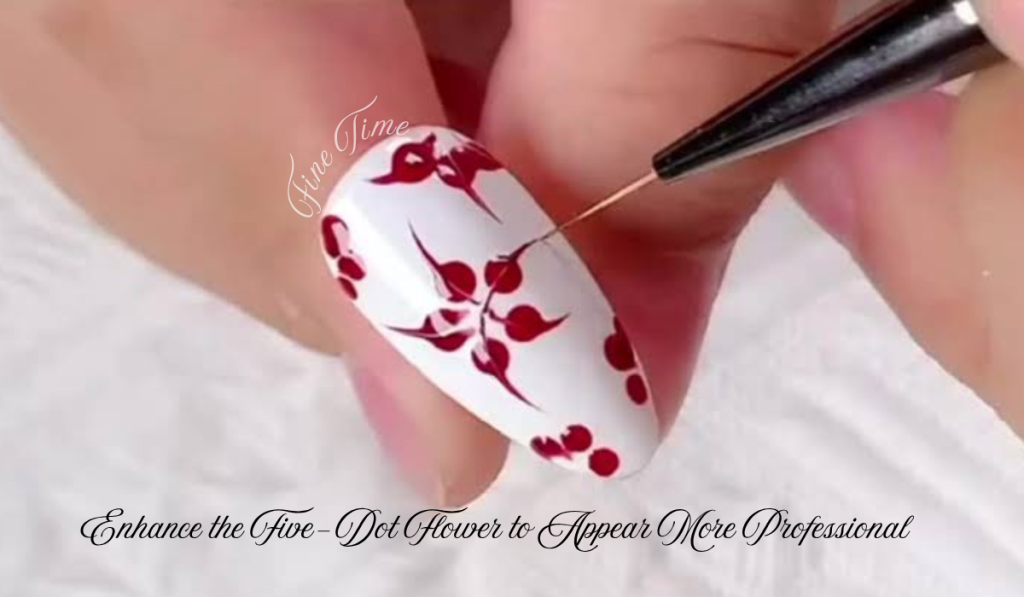
Select a small detail or liner brush.
Just submerge the tip into your polish or nail-art color.
Next, make brief, arched lines.
Rather than attempting to draw a whole flower in one go, focus on making separate petals.
Can you make a basic flower with five petals like this?
Certainly.
Begin each petal at the center and arc the brush outward.
Next, head back to the center.
Make the same motion around the flower.
This method allows for greater control over the width, length, and form of each petal.
How Can You Paint Basic Floral Leaves and Stems?
Would flowers seem whole without leaves?
Not every time.
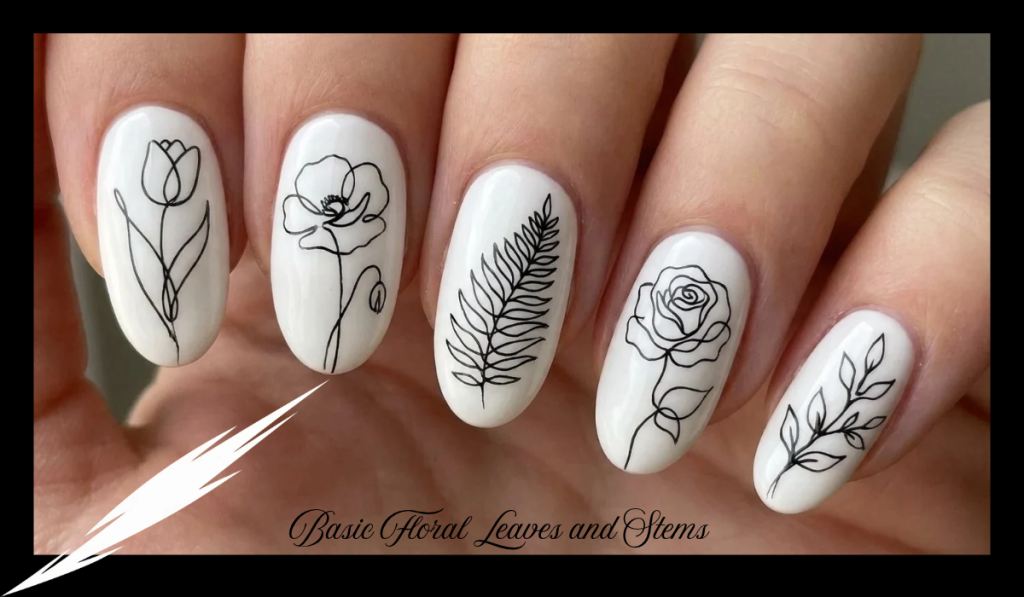
Just a few tiny leaves can change a simple flower into distinct botanical nail designs.
Select a green nail polish or color for nail art.
With a delicate brush, create a slender curved line extending from the flower.
This is now your stem.
Next, incorporate tiny sharp lines along the stem to represent leaves.
Must each leaf be the same?
Negative.
Minor changes can give the design a more natural appearance.
Consider varying the orientation of the leaves instead of arranging them in completely straight lines.
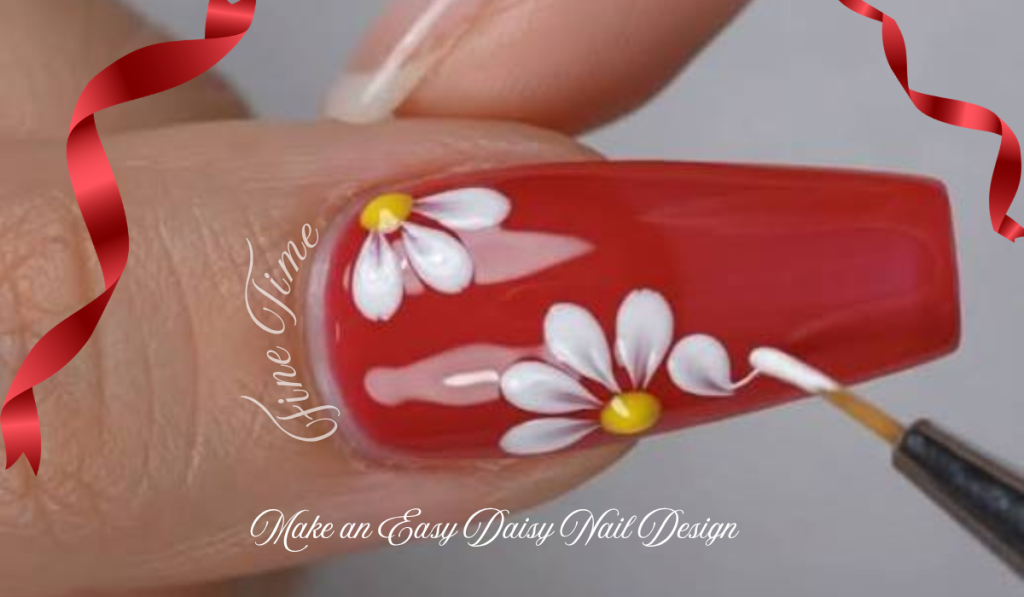
How Can You Make an Easy Daisy Nail Design?
Looking for a floral arrangement that appears stunning yet is easy for beginners?
Consider daisies.
Begin with a base that is nude, pink, pastel, or sheer.
Next, apply white polish to the petals.
Make five tiny dots surrounding the middle.
Incorporate a yellow or contrasting core.
Do you want daisies on each nail?
Not in the slightest.
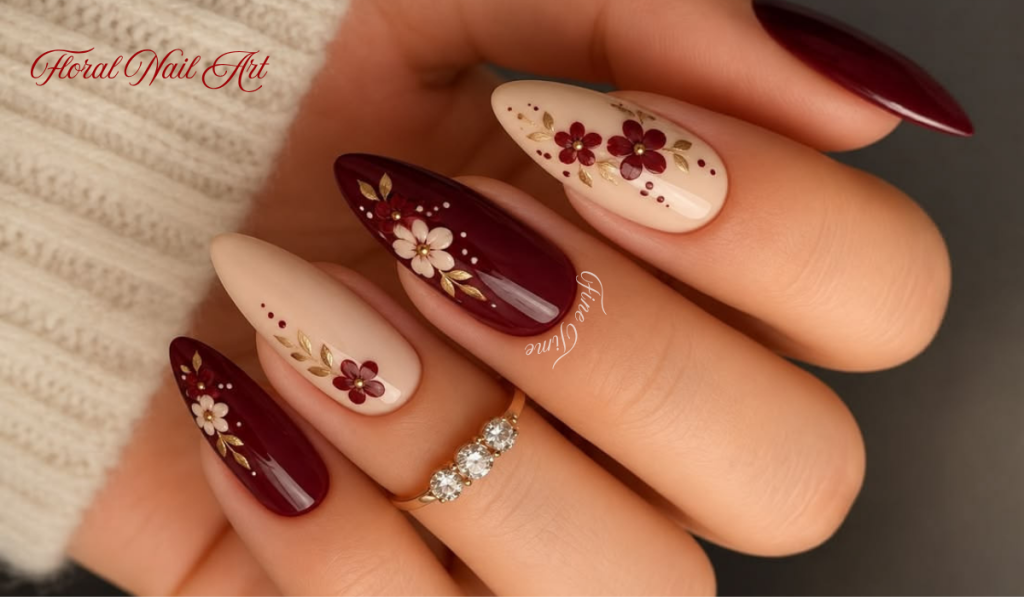
For a polished manicure, design daisies on two accent nails while the other nails remain in a coordinated solid shade.
To achieve a more whimsical appearance, position small daisies at various corners of each nail.
This method also facilitates adapting the artwork for short nails.
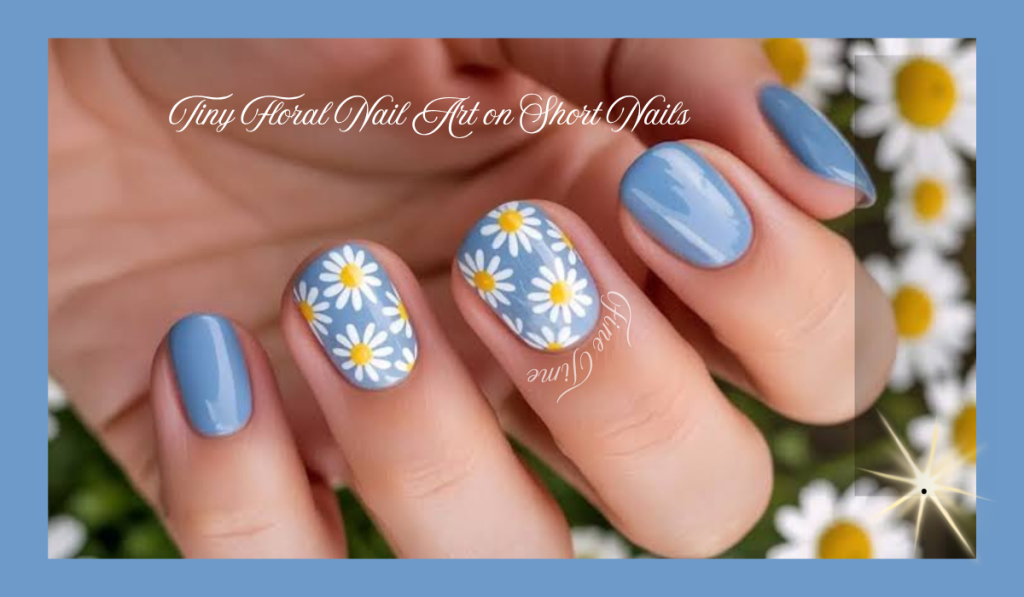
How Can You Make Tiny Floral Nail Art on Short Nails?
Are long nails necessary for floral designs?
Certainly not.
Tiny flowers can make short nails appear beautiful with thoughtful placement.
The key factor is size.
Rather than painting a single large flower on the whole nail, opt for small petals.
Could you put a flower in a corner?
Indeed.
You can also design a floral French tip by adding small flowers along the free edge.
An alternative is to paint a tiny flower close to the cuticle while keeping the majority of the nail transparent.
What makes this effective?
The unused area allows the design to look less cluttered.
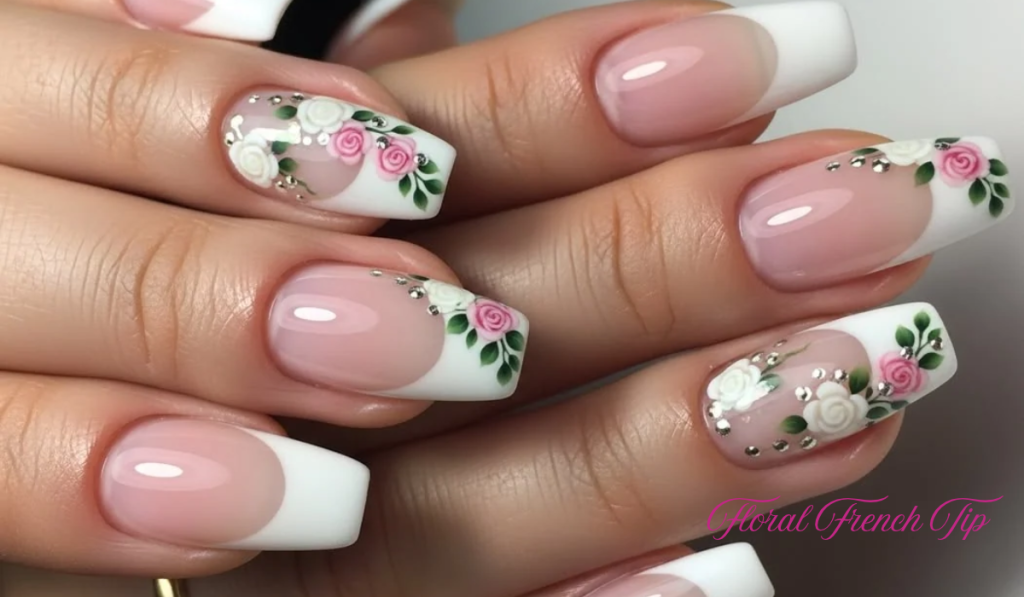
How Can You Make a Floral French Tip?
What if you adore French manicures yet desire something more imaginative?
Merge floral designs with French tips.
Begin with a naked, transparent, or creamy foundation.
Design your favorite French tip.
Next, place tiny flowers around the end.
Are white flowers the simplest option?
Certainly, particularly for a gentle and graceful manicure.
You could alternatively use pink, blue, lavender, yellow, or red blooms based on your color scheme.
To achieve a more subtle effect, substitute the classic French line with small flowers that trace the curve of the nail.
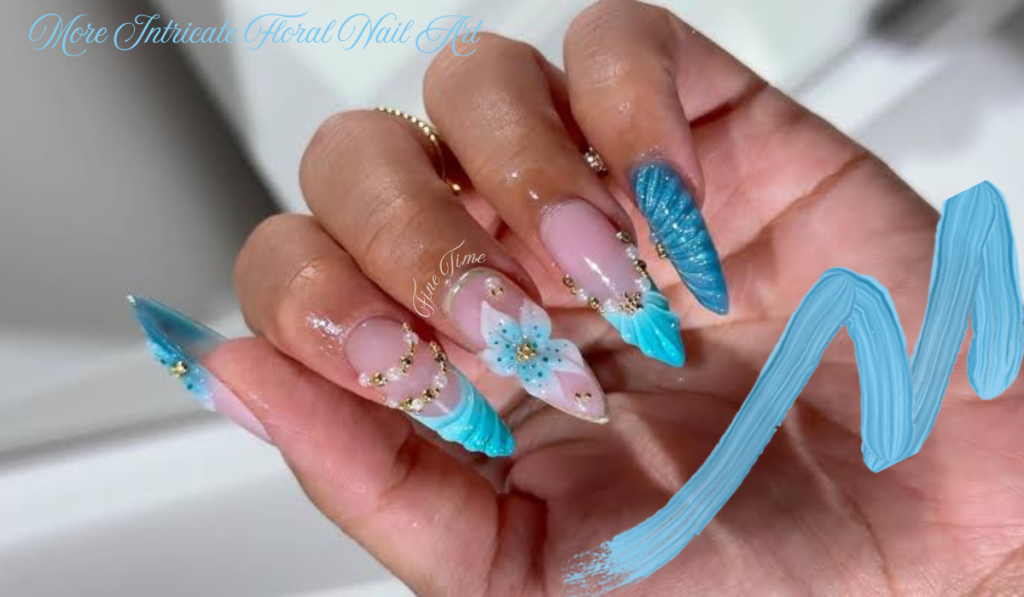
How Can You Create More Intricate Floral Nail Art?
Are you prepared to progress past basic dots?
Next, experiment with layering.
Start with a simple flower design.
Once the initial layer is in place, apply a slightly deeper hue near the bottom of the petals.
Next, take a fine brush to apply narrow lines.
These lines may indicate folds, veins, or shadows.
Could highlights be beneficial?
Certainly.
A small white or paler stroke can give the appearance of light reflection.
The secret is moderation. An excessive number of lines can cause a small flower to appear messy.
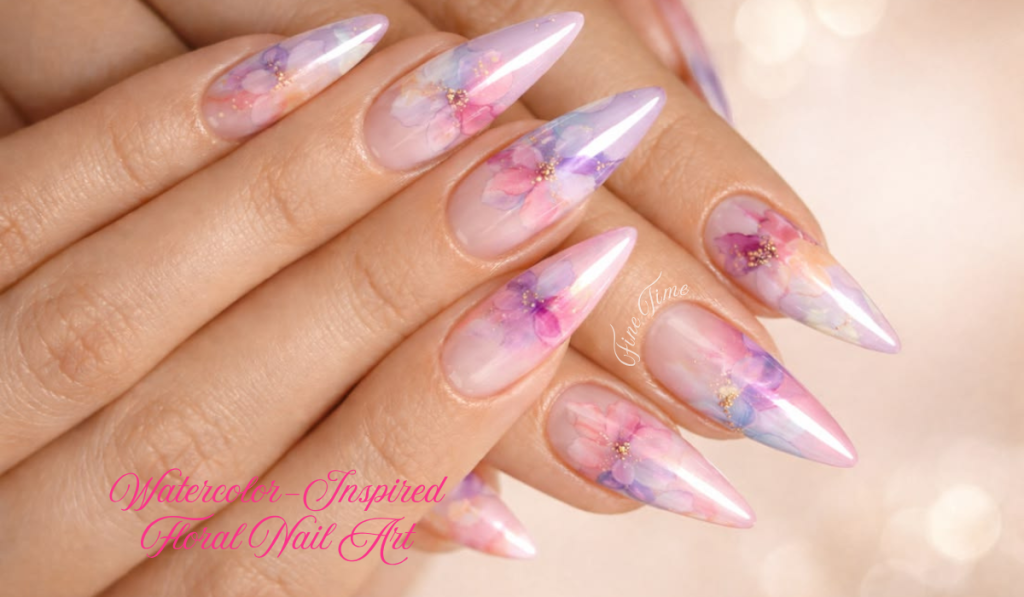
How Can You Achieve Watercolor-Inspired Floral Nail Art?
Would you like flowers that appear gentle and artistic instead of having clear outlines?
Experiment with a technique reminiscent of watercolor.
Utilize layers of color that are transparent or appear heavily diluted.
Begin with a light flower form.
Next, incorporate a marginally darker hue towards the middle.
Let the colors merge gently instead of forming strong outlines.
Are you able to utilize multiple colors?
Certainly.
Soft pink, peach, lavender, cream, and light blue can blend harmoniously.
The aim is not flawless geometry. It is forming the illusion of fragile petals.
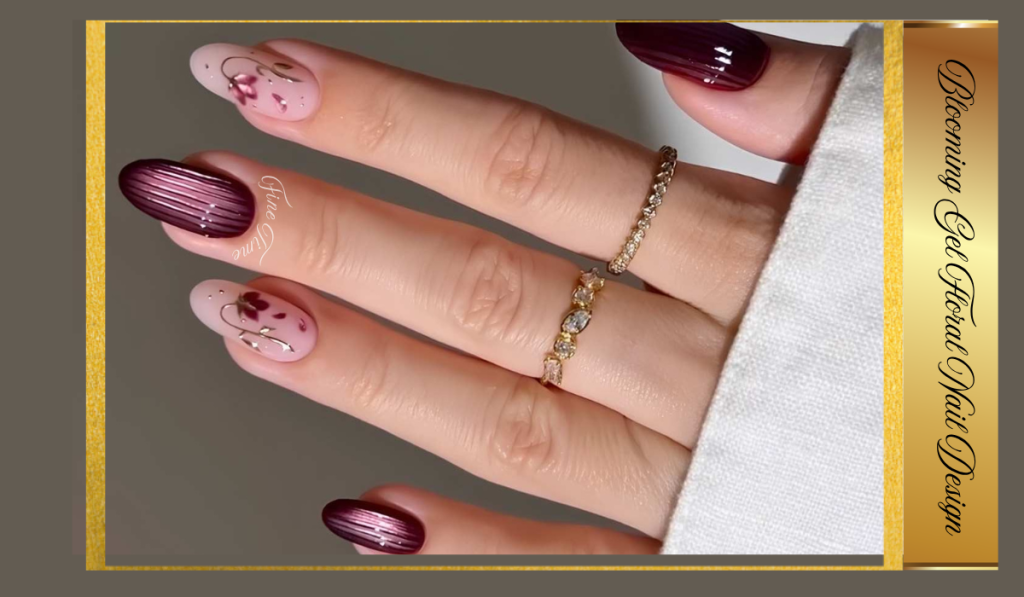
What is Blooming Gel Floral Nail Design?
Have you come across blooming gel?
This is an alternative method to achieve floral effects, especially when utilizing gel systems.
Rather than hand-painting each detail, a blooming medium enables specific gel colors to blend and merge seamlessly.
How does the fundamental idea operate?
You use the suitable blooming layer, incorporate chosen color details, let the colors blend into the intended effect, and then cure according to the product guidelines.
This method can produce delicate blooms that appear smoother than standard painted petals.
Expert tutorials also showcase innovative techniques for crafting floral effects and subsequently layering intricate artwork on top.
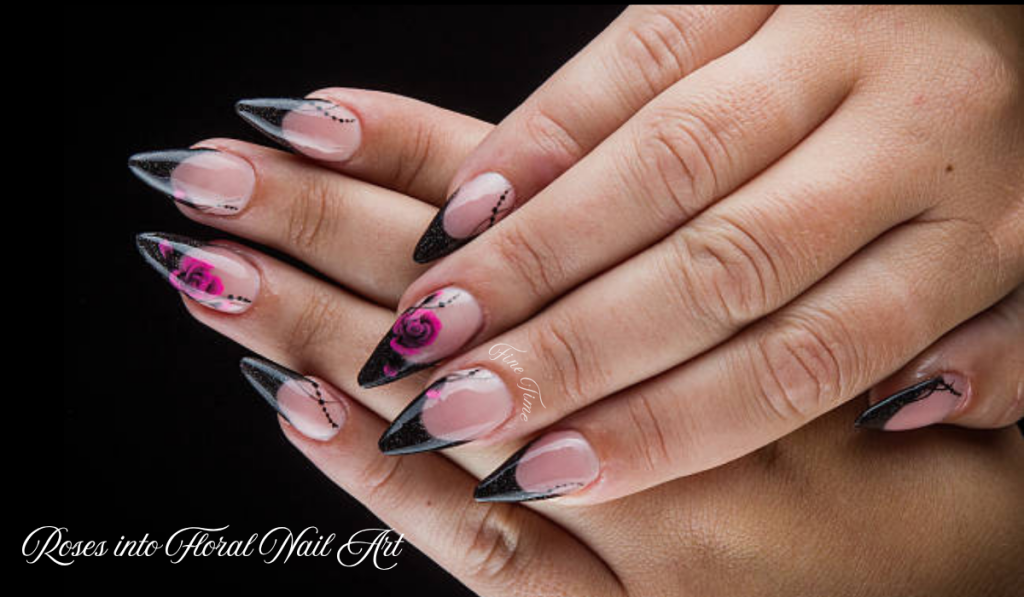
How Can You Incorporate Roses into Floral Nail Art?
Are roses too challenging for those just starting out?
Creating detailed realistic roses can be difficult, while simplified roses are significantly easier.
Begin with a small, rounded floral form.
Next, apply a deeper hue to form curved lines within the flower.
Consider the lines as tiny intersecting curves.
Avoid attempting to sketch each separate petal.
Rather, propose the layers.
Can this technique be applied to an accent nail?
Certainly.
A single small rose encircled by leaves can serve as the centerpiece of an otherwise plain manicure.
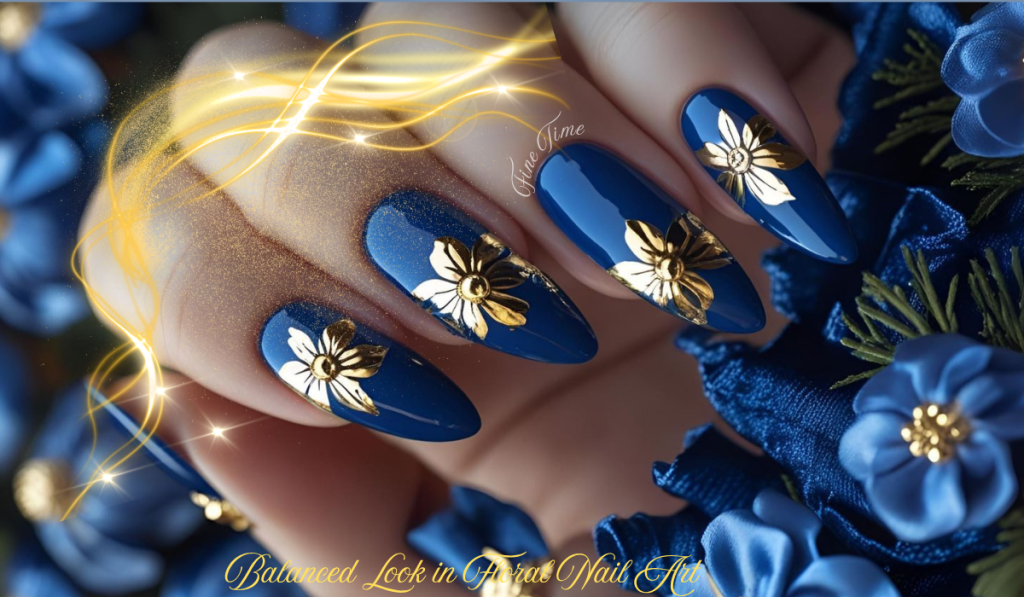
How Can You Achieve a Balanced Look in Floral Nail Art?
Can an attractive design appear overwhelming if each nail has excessive detail?
Indeed.
Balance stands as a key principle in an effective Nail Art Tutorial.
Attempt to merge intricate nails with more basic ones. For instance, you might generate:
- Two full floral nails
- Three solid-color nails
- Two minimalist flower nails
- Three French-style floral accents
Alternatively, maintain all nails with floral designs but incorporate ample negative space.
The aim is to provide the eye with a place to relax.
How to Correct Typical Floral Nail Art Errors?
What occurs if a petal appears irregular?
Stay calm.
If the polish remains malleable, you could refine the form using a clean detail brush.
If the error is more evident, incorporate it into the design.
Can a bigger bloom conceal a minor error?
Occasionally.
You may also include an additional petal, a leaf, or a differing center.
What if your flowers appear overly large?
Apply lesser quantities of product to your brush or dotting tool.
What happens if the hues mix together?
Permit the preceding layer to dry or cure as necessary before applying additional detail.
When using gel products, adhere to the particular product guidelines instead of depending on a standard curing duration.

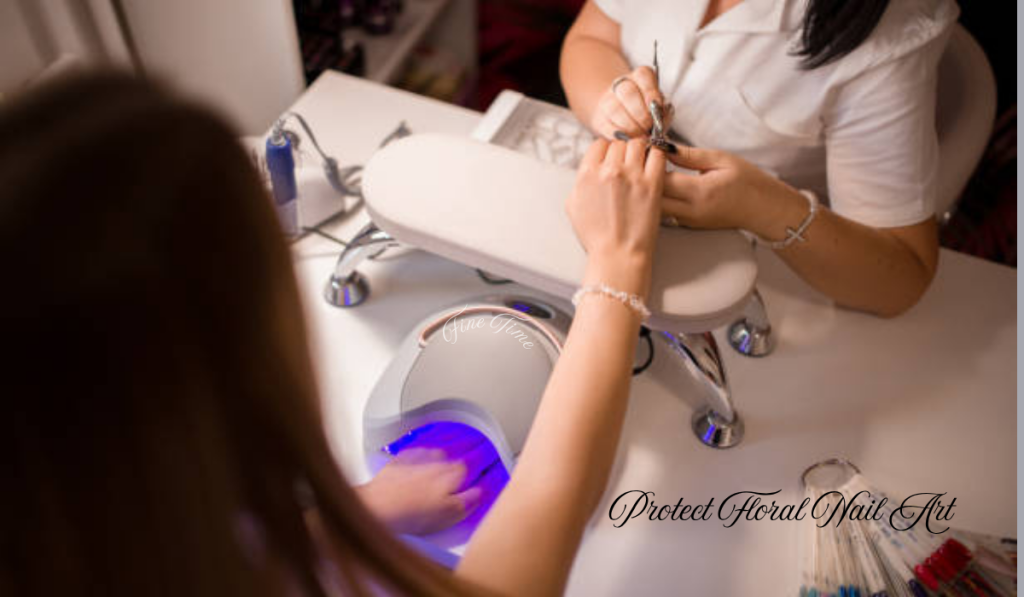
How Can You Protect Floral Nail Art?
Would all your meticulous art be in vain if you overlooked the last step?
It is possible.
After your design is finished and adequately dried or cured, apply an appropriate top coat.
Apply the artwork uniformly without oversaturating the surrounding skin.
What makes the top coat essential?
It aids in achieving a seamless appearance and shields the design from daily damage.
Are you looking for shiny nails?
Apply a shiny top layer.
Like a contemporary look?
A matte finish can dramatically alter the essence of floral designs.
What Is the Ideal Floral Nail Art Procedure for Novices?
If you are entirely unfamiliar, should you try to create a detailed rose right away?
Likely not.
Why complicate the learning experience more than needed?
Begin with this sequence:
Step 1: Train with dots.
Step 2: Transform five dots into basic flowers.
Step 3: Incorporate differing focal points.
Step 4: Rehearse slender stems.
Step 5: Incorporate basic leaves.
Step 6: Play around with French floral techniques.
Step 7: Experiment with layered petals.
Step 8: Transition to roses, watercolor styles, or flowering methods.
Would training on paper be beneficial?
Certainly.
Prior to applying to your nails, rehearse your brush pressure and petal motions on a flat surface.
This aids in grasping the amount of product that your brush holds.
Common Inquiries Regarding Floral Nail Art
What does Floral Nail Art entail?
Floral Nail Art is nail embellishment inspired by blossoms, petals, foliage, stems, botanical designs, and garden-themed creations. Designs can vary from basic dots to intricate hand-painted floral patterns.
How to Create Floral Nail Art for Beginners?
Begin with clean, ready nails and a base shade. Form five tiny dots in a circle for the petals, incorporate a contrasting center, and complete with a top coat. A dotting tool simplifies this method significantly.
What is the most straightforward Flower Nail Tutorial?
The five-dot flower is among the most basic methods. Form five dots around an unseen center, draw each dot towards the center to shape petals, and incorporate a small contrasting center.
Is a Nail Art Brush Set necessary for me?
Using a dotting tool, you can make basic flowers, but a Nail Art Brush Set is beneficial for intricate petals, stems, leaves, outlines, and more complex floral patterns.
Is it possible to create Floral Nail Art on short nails?
Certainly. Incorporate smaller flowers, negative space, corner accents, floral French tips, or a single-flower accent nail to prevent the design from dominating the nail area.
Which colors work best for Floral Nail Art?
Common pairings consist of white and nude, pink and white, red and black, pastel multicolored flowers, lavender and green, and shades of a single color family.
Are novices able to paint roses?
Novices can begin with basic roses instead of highly detailed representations. Utilize a simple flower design and incorporate curved lines to imply overlapping petals.
What are the uses of blooming gel?
Blooming gel can produce gentle, flowing floral designs when applied with compatible gel products. It can be paired with extra detailing for a more three-dimensional appearance in designs.
Should I place flowers on each nail?
Negative. Accent nails can enhance a well-rounded manicure, particularly as you’re practicing. You can additionally pair intricate floral nails with solid or French-style designs.
How can I achieve a professional look with Floral Nail Art?
Emphasize tidy nail preparation, uniform flower dimensions, regulated brush pressure, even placement, harmonious colors, and a seamless finishing top coat.
Conclusion: Are You Prepared to Experiment with Floral Nail Art?
So, How can you create floral nail art without getting stressed?
Begin with little steps.
There’s no requirement for you to perfect realistic roses during your initial try.
Transform those dots into blooms.
Incorporate a contrasting middle.
Next, exercise with stems, leaves, and basic botanical features.
As your confidence increases, try out French floral styles, layered petals, watercolor techniques, roses, wildflowers, and blooming methods.
The key aspect of this Flower Nail Tutorial is not reaching perfection right away.
It involves understanding how various tools, brush techniques, colors, and layers produce distinct floral outcomes.
Can a basic five-dot flower serve as the start of your complete nail-art adventure?
Certainly.
Through patience, practice, and a quality Nail Art Brush Set, your nails can turn into a tiny canvas for anything from intricate daisies to elaborate botanical designs.
So, Which flower will you start painting first?